How (and why) you should apply a pretreatment to natural stone
03.2022
Learn how (and why) you should apply a pretreatment to natural stone and empower your business
Finally, at a certain point in a building or makeover project, we arrive at the point where it’s time to lay those beautiful stone tiles that were painstakingly researched and selected and that are going to set the tone for the space in question.
We’ve already touched on the importance of opening up the boxes when they arrive and checking that the tiles are intact and dry, so once this is all done, the fun part begins and that starts with applying a pretreatment product.
Why do you need to apply a pretreatment to natural stone?
The answer is that it minimises the risk of any unwanted contaminants such as salt, tannins and oxides rising up from the substrate to the surface of the tile. These can create unsightly streaks or stains or even the dreaded frame effect that becomes visible once you grout the joints. A good pretreatment product will go a long way towards preventing such aesthetic blights.
A pretreatment not only protects the surface as described above, but also leaves no film on the stone. Neither will it alter its natural appearance or tonality while the feel of the stone and its “breathability” will remain unchanged, all important properties to preserve the inherent beauty and integrity of the stone and something we are really passionate about. On the functional side, there will be no decrease in effectiveness when it comes to gluing the tiles.
Do all stones need to be pretreated?
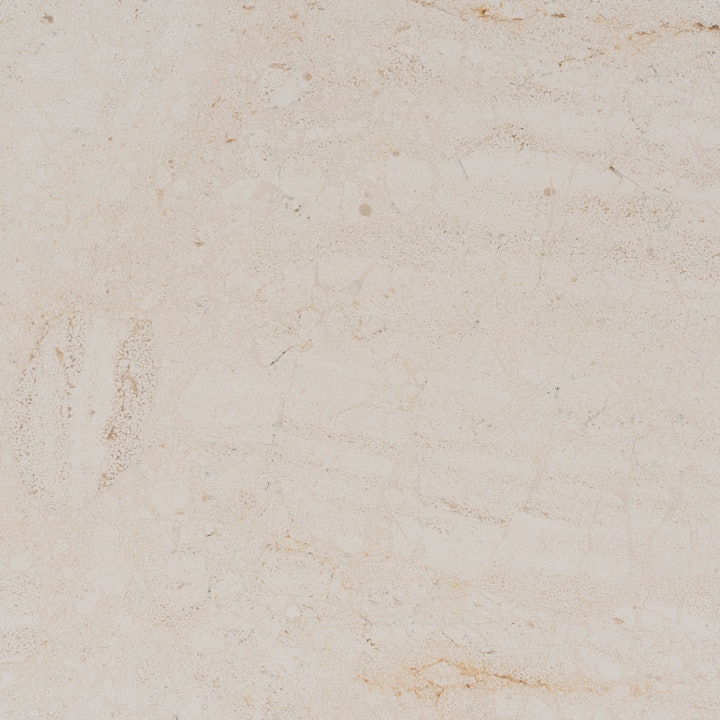
Absorbent materials with open pores such as limestone, sandstone or marble should almost always be pretreated, and our installation guides provide more detailed indications about precisely which of our stones require this step, together with recommendations for the products to use.
Before applying any pretreatment, you should check that the tiles are clean and dry and remove any residual dust from the immediate area. And, make sure that the area you are working in is also clean and dry and, if you’re working outside, ensure that there is no wind, as this could blow dust particles onto the tiles before the treatment dries.
Apply the pretreatment with a paintbrush to all areas of each tile, including the edges, using a smooth, even action and ensuring no drips or droplets form. If possible, you could also choose to dip the tile into the treatment, then dab the excess off it.
Once the tiles are completely dry you can then proceed to the laying stage, safe in the knowledge that this simple pretreatment step will significantly contribute to the quality of the overall installation.

However, there’s one more step, and that is to ensure that the surface, whether a wall or floor, is perfectly flat. Stone may be tough, but in tile form it is also fragile in its own way and needs some TLC when it comes to installation. If tiles are not laid on a sturdy, perfectly even and stable surface, there will be a risk of breakage. That’s why it’s the moment for the trusty level to perform its duty and detect any irregularities in terms of a perfect laying surface, in which case you’ll need to use mortar, plaster or cement, depending on your favoured technique and product to smooth it out and correct any issues. We cover this step in greater detail in our chapter on getting a surface ready for tiling.
